Yes, any attempt to get info on a “quick and dirty” fix will be met with scorn and ridicule from many on here.
However, you may as well try it, it will be cheap and if it fails you can hire a pro to somehow get in there and do it nice and fancy.
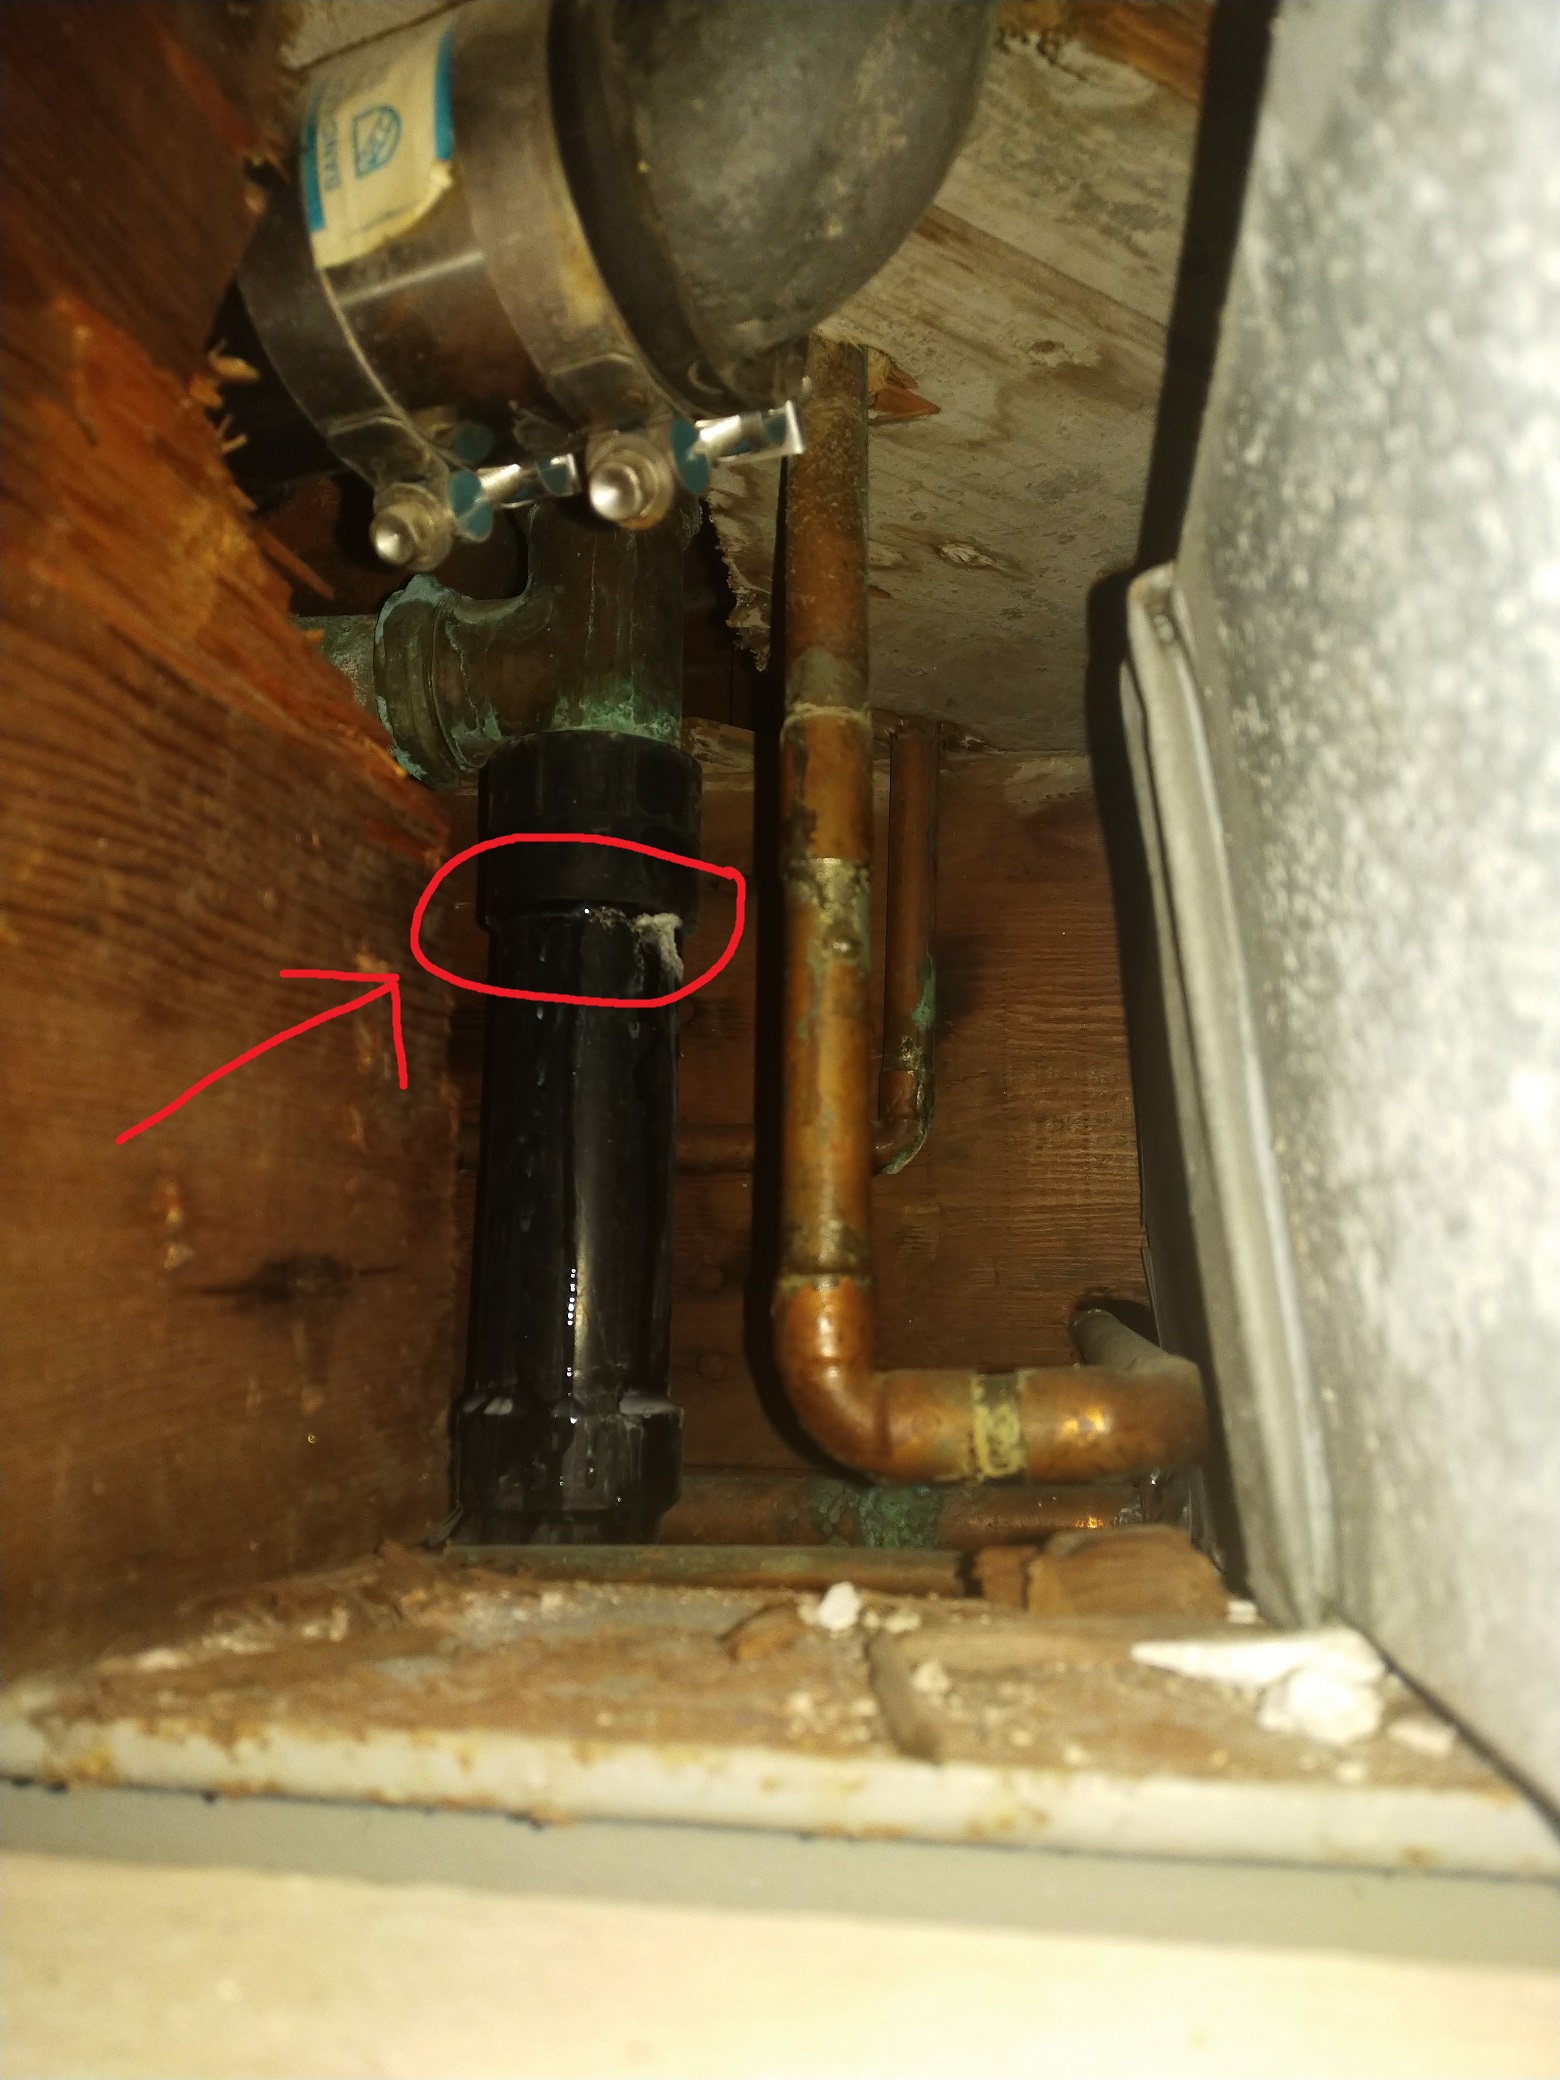
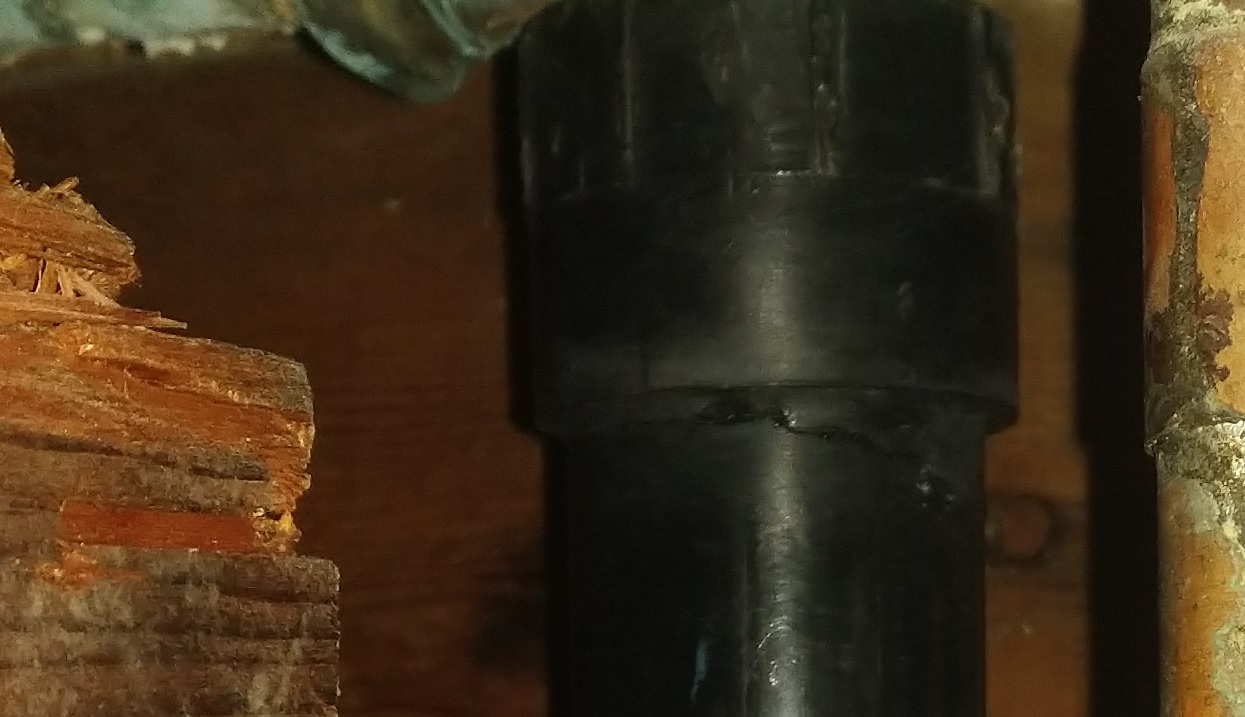
You can soak a Scothbrite type of plastic scrubbing pad in vinegar, and wrap it around the leaky area and use good hand pressure to grind off all the sediment and crud at least an inch above and below the leak.
No adhesive or sealant will stick properly onto crud.
Then wipe it all down with clean water at least twice to get rid of the vinegar.
Then roughen the surface all around where you just cleaned with coarse sandpaper, all the way around the pipe and at least an inch above and below, not just where you see a leak.
Remove all sanding dust, then glob on a good layer of marine sealant.
You should wear a disposable surgical type glove, hardware stores and big box sell those.
Make sure you spread sealant all the way 360 degrees around the whole joint that leaks, and go an inch above and below.
This is a good sealant, I used it to repair a cracked bottom of a plastic toilet tank overflow pipe on a heavy wall-hung toilet, that would have otherwise had to come off the wall to repair “properly”.
Ten years and the overflow pipe does not leak a drop.
I used the 5200 formula, which sets slower.
I think you want this fast set formula, it will be less saggy.
Either way, add an extra thick layer slightly above where you want it to slowly sag onto its final location around the leaky joint.
This stuff is ok to apply over a slightly damp joint, but get everything clean and roughed up first.
You can add a second layer after about an hour, if you want.
https://www.amazon.com/3M-Marine-Adhesive-Sealant/dp/B07MMTDZGR
Here is a fast setting version of the formula I used on the plastic toilet overflow pipe.
https://www.amazon.com/3M-Marine-Adhesive-Sealant/dp/B07M5C26JZ